


"I love your Stipple sea shells. I don't have a magna hoop and I am not sure you have one for the Janome 11000. I don't see it working the same way. Could you help me? I am very interested. -Maxine"
Yes, you can create continuous appliqué with Stipple! Seashells. All you need is a large embroidery hoop and templates. Follow the steps below to achieve success.
Print a template of the Waveborder design on vellum or tracing paper.
Make a 12” x 44” quilt sandwich of backing, batting and top fabric to make two 3 ½” x 40” borders. Hoop the upper left portion of the quilt sandwich. Stitch the Waveborder design at the top left of the sewing field. Add the applique as instructed in the Stipple! Shell Collection. Once complete, remove the quilt sandwich from the hoop.
Reposition the fabric to connect the next design with the previously stitched design. Keep the applique strip out of the design area while hooping.
Once hooped, smooth the applique fabric over the new sewing field.


Your goal is to connect the design as shown below.

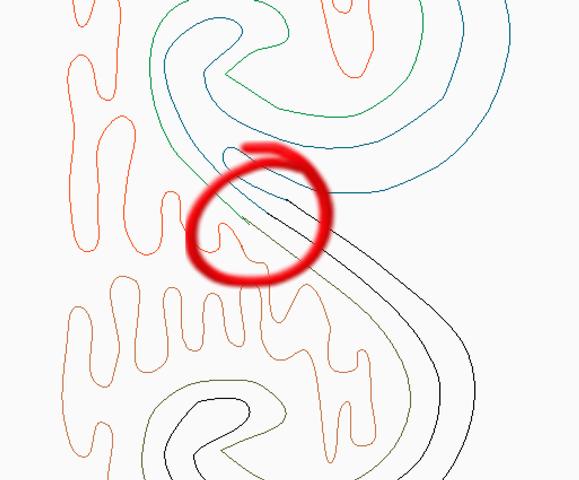
You can hold onto the template and carefully slide the left side of the applique strip to the right to reveal the straight stitches. You want the stitched line on the template to match up with the stitching on the fabric.

Once you’re satisfied that everything matches up, securely tape or pin the template to the hooped fabric. Or slide a target sticker under the template’s crosshair.

Carefully slide the applique strip out from under the template, (just fold it back over itself at the top of the hoop).

Attach the hoop to the machine.

Use the jog keys to move the needle to the center of the template’s crosshair.

Use the trace feature on the machine to position the needle at the upper left corner of the design. The needle should be aligned with the straight line on the first design. If not, move the design.

Make sure the design is in the correct orientation on the screen (matching the orientation of the template). Remove the template.
Stitch color 1. Smooth the applique strip down over the first color and stitch color two, the tackdown. Insert

Repeat until you have stitched the complete design. In the image below, the first design was stitched in the bean stitch version of the design, while the second repeat was stitched in the run version. I did this so you could see where one design ended and the next one began.

Thanks for your question, Maxine!
Maxine's question was about a Design's in Machine Embroidery product called Stipple! Seashells. You can find more information here.
Here's a video that talks about our newest Stipple! Collection.

